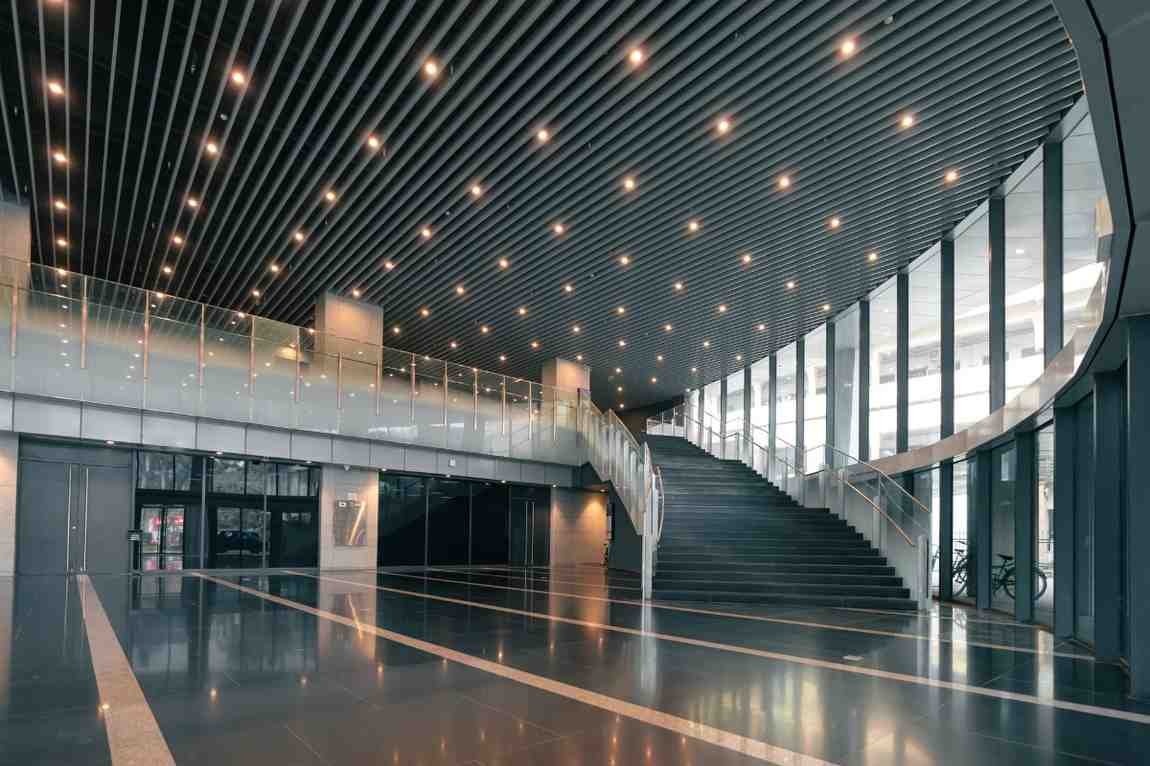
Your hall is the first thing people see and the ceiling is the one surface most homeowners completely ignore.
A bare concrete slab with exposed conduits and a single hanging bulb kills the entire look of a room, regardless of how well the walls and furniture are done. False ceiling designs for hall spaces solve this problem directly: they conceal mechanical systems, create professional-grade lighting, and give the room a finished architectural identity.
Design Period guide covers materials, design styles, lighting, costs, and installation — everything a working designer uses when planning a hall ceiling.
What Is a False Ceiling and Why Does Your Hall Need One?
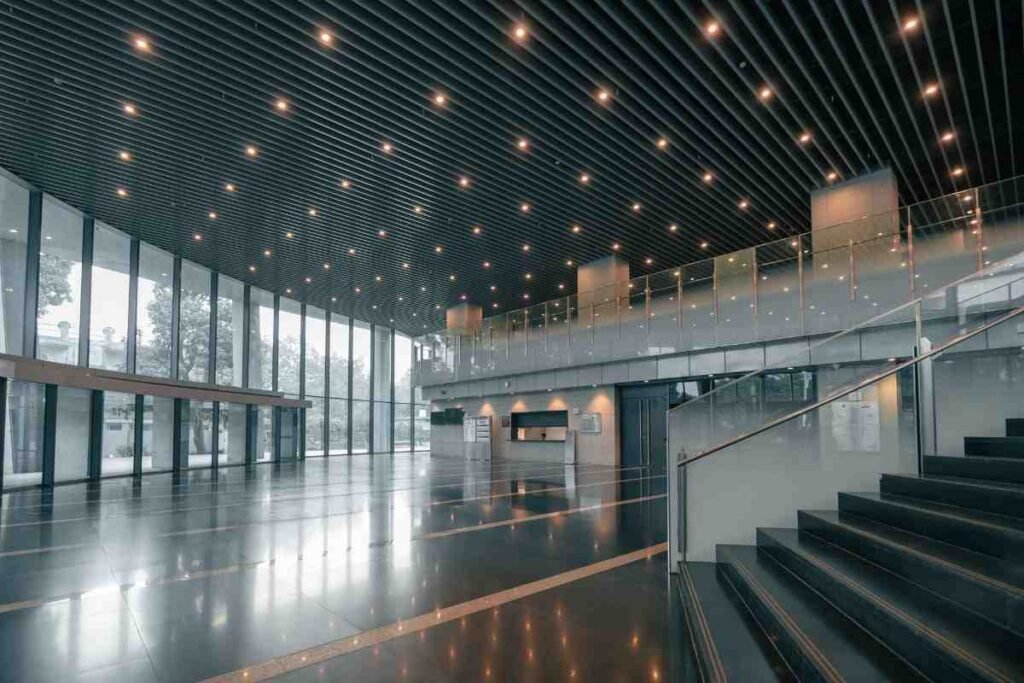
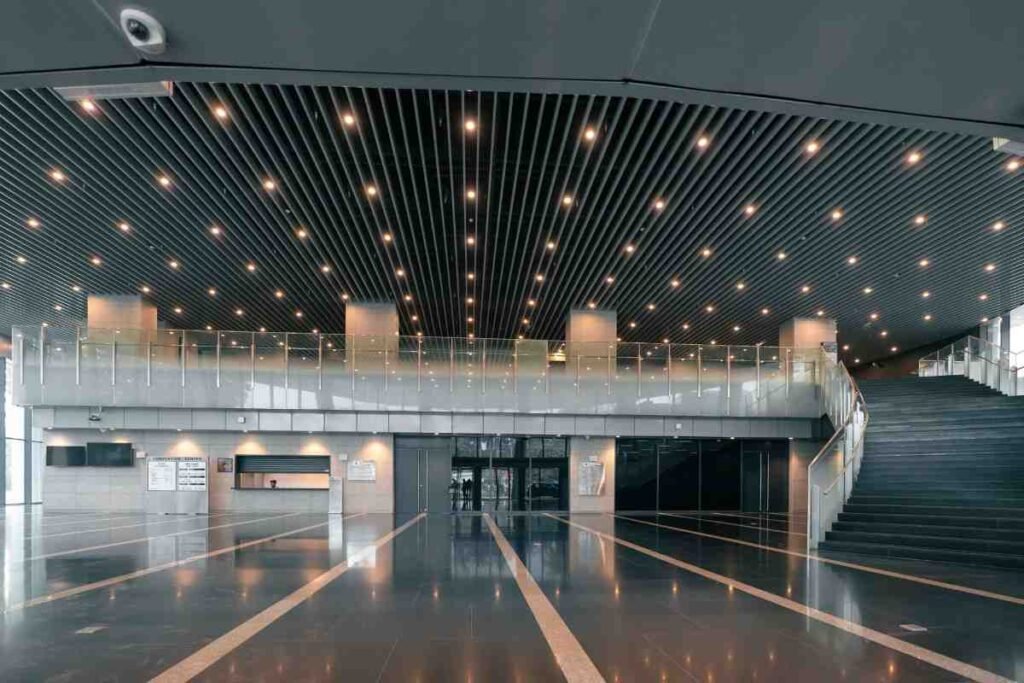
A false ceiling is a secondary surface suspended below the original structural slab using an MS channel metal framework. The cavity between both surfaces houses electrical wiring, AC ducts, acoustic insulation, and LED systems all completely hidden.
What Changes When You Install a False Ceiling in Your Hall
Visually:
- The ceiling becomes a designed surface with architectural intent
- Lighting shifts from harsh and direct to layered and controlled
- Open-plan halls gain defined zones without partition walls
Functionally:
- All wiring routes inside the cavity through concealed PVC conduits
- Split AC or cassette units integrate above the ceiling plane
- Acoustic panels inside the cavity reduce floor-impact noise by 8–15 dB
- Thermal insulation within the cavity cuts radiant heat gain by 20–30% on top-floor apartments
False Ceiling vs. Regular Ceiling — Key Differences
| Feature | Structural Slab | False Ceiling |
| Surface finish | Raw concrete | Smooth, textured, or decorative |
| Wiring | Surface-mounted, visible | Fully concealed |
| Lighting options | Surface fixtures only | Recessed, cove, strip, pendant |
| AC integration | Wall-mounted, visible | Ducts hidden above ceiling |
| Acoustic performance | None | Panels reduce noise measurably |
| Height impact | No change | Reduces by 3–15 inches |
The height reduction is the most critical practical factor — plan for it from day one, not as an afterthought.
Best False Ceiling Materials for Hall Gypsum, POP, MDF Compared
Material selection drives installation time, finish quality, moisture performance, and total cost. Choose based on your design intent, climate, and ceiling height.
Gypsum Board — The Industry Standard for Modern Halls
Gypsum board is the global standard for residential false ceilings. It installs fast, finishes cleanly, and performs reliably across most climate conditions.
Key specifications:
- Standard thickness: 12.5mm for ceilings
- Weight: 8.5 kg per square meter
- Fire resistance: Type X board provides 1-hour fire rating
- Moisture-resistant grade: MR (green-faced) board for humid climates
- Maximum unsupported span: 600mm between MS channel supports
Gypsum achieves a flat, seamless surface when jointed correctly — paper tape plus joint compound, sanded in two to three passes. Recessed lights cut cleanly. Cove channels form accurately. The system is predictable, repairable, and well-understood by contractors in every market.
Cost benchmarks (material + labor, excluding lights):
| Market | Simple | Medium | Premium |
| India (₹/sq ft) | ₹60–₹80 | ₹90–₹130 | ₹140–₹220 |
| Pakistan (PKR/sq ft) | PKR 160–220 | PKR 240–340 | PKR 360–580 |
| USA (USD/sq ft) | $4–$7 | $8–$13 | $14–$22 |
POP vs. Gypsum — When Each Material Wins
POP (Plaster of Paris) is applied wet on-site and shaped by hand — it creates complex cornices, medallions, arch profiles, and coffered ceiling patterns that factory-made gypsum panels cannot replicate.
Use POP when the design requires:
- Deep decorative cornice profiles
- Custom ceiling medallions
- Multi-tiered ornamental borders
- Classical or traditional hall aesthetics
Use gypsum when the design requires:
- Fast installation (2–4 days vs. 5–10 days for POP with curing)
- Consistent flat finish across large areas
- Better moisture resistance (MR grade)
- Contemporary, minimalist, or modern aesthetics
The combination most designers specify: Gypsum board as the primary ceiling structure + POP cornice at the perimeter + POP medallion at the chandelier position. Speed and consistency of gypsum, decorative range of POP where it matters.
| Factor | Gypsum Board | POP |
| Installation speed | 2–4 days | 5–10 days |
| Decorative complexity | Moderate | Excellent |
| Moisture resistance | High (MR grade) | Moderate |
| Long-term cracking | Minimal | Possible |
| Best for | Contemporary, modern | Traditional, ornate |
False Ceiling Design Styles for Hall What Works in 2026
Tray Ceiling and Cove Ceiling — The Most Popular Choice for Large Halls
A tray ceiling creates a raised central panel within a lower perimeter border. The step between levels ranges from 100mm to 200mm. This step houses the LED cove channel — strips inside face upward and wash the ceiling with indirect light. The raised center panel accommodates a chandelier at correct proportional height.
Proportioning rules:
- Perimeter border width: 450–600mm for halls of 300–400 sq ft
- Step height: 100–200mm for 9.5-foot ceilings
- The raised center should cover at least 40% of total ceiling area
- For halls narrower than 14 feet, limit to one step — two steps in a narrow hall feels compressed
A cove ceiling uses a curved or angled transition between wall and ceiling with LED strips recessed into the curve. Light projects upward and inward — the ceiling glows from the perimeter. Cove ceilings are architecturally quieter than tray ceilings and suit minimalist and contemporary halls.
Multi-level false ceiling extends the tray concept with two or three stepped levels. Reserve this for halls above 350 sq ft with ceiling heights of 11 feet or more — in smaller spaces it feels oppressive, not luxurious.
Minimalist and Contemporary Ceiling Designs for Clean Halls
Minimalist false ceiling design operates on one principle: every visible element must earn its place.
The minimalist ceiling system:
- Single-level gypsum board, no steps or moldings
- Trimless recessed LED downlights flush with the ceiling surface
- Perimeter cove channel: 100mm × 100mm recessed step at the wall-ceiling junction, painted in ceiling color — invisible by day, active at night
- Zero visible joints (requires precise board layout and three-pass finishing)
- Matte flat finish paint — 2–5% sheen level
- No central fixture unless a single architecturally thin pendant over a specific point
Matte vs. gloss ceiling — the definitive answer:
Matte finish absorbs light and hides surface imperfections. Gloss finish amplifies every flaw and creates harsh hotspots from recessed fixtures. In residential halls, matte is always the professional specification. Gloss serves one specific purpose: deliberately glamorous, high-contrast commercial interiors where ceiling reflection is intentional.
Simple Border and Two-Tone Ceiling Designs — Maximum Impact, Lower Budget
A border ceiling drops only the perimeter (400–600mm wide) while leaving the hall center at original height. This preserves headroom where people stand, creates the visual signature of a designed ceiling, and costs significantly less than full coverage.
Two-tone ceiling strategy:
Paint the dropped gypsum panel in the primary ceiling color. Paint the cove channel interior in pure white to maximize LED light bounce. The contrast between the lit slot and adjacent ceiling creates depth without any structural change.
Paint color recommendations for 2026:
| Ceiling Color | Wall Pairing | Effect |
| Pure white (LRV 90+) | Any palette | Maximum light reflection |
| Warm off-white (LRV 82–88) | Warm neutrals | Soft, enveloping warmth |
| Charcoal (LRV 12–20) | White or light stone | Dramatic, luxury feel |
| Deep navy | White walls, brass hardware | Bold, jewel-box atmosphere |
| Eucalyptus green | Warm white, natural timber | Grounded, organic |
False Ceiling Designs for Small Hall Space-Smart Solutions
Choosing the Right Ceiling Thickness Without Losing Head Height
Height consumed by installation type:
| Installation Type | Height Loss |
| Border-only ceiling | 75–100mm at perimeter only |
| Single-level (wiring only) | 125–175mm |
| Full ceiling with AC ducts | 250–400mm |
| Stretch ceiling system | 40–60mm |
Three viable options for small halls:
Option 1 — Border ceiling (75–100mm drop at perimeter): Drop only around the perimeter, 450mm wide. Center slab remains exposed and painted. LED strip on the inner face. Minimum height loss, real visual impact.
Option 2 — Stretch ceiling (40–60mm total depth): Most space-preserving full-coverage option. Perimeter aluminum track mounts 40–60mm below slab. Backlighting through a translucent PVC membrane creates a uniformly glowing surface — the most space-expanding effect available.
Option 3 — Full gypsum with shallow tray (125mm total): For halls with 9-foot+ ceilings. Perimeter drops 125mm; center panel installs at 75mm drop. The 50mm step creates a tray effect with minimal total height loss.
Lighting Strategies That Make Small Halls Feel Larger
These are specific, measurable techniques — not general suggestions:
Cove lighting directed upward: LED strips in the perimeter cove face upward and wash the original slab. The ceiling appears to float. The room reads taller than its actual measurement. Specify 1,000–1,200 lm/m for this application — undersized strips produce a dim glow rather than a confident wash.
Trimless recessed downlights: Trimless fixtures plaster flush — the aperture sits in the ceiling with no frame. In a small hall, trimless fixtures disappear completely. The ceiling reads as uninterrupted.
Avoid pendant lights below 9-foot ceilings: Any hanging fixture in a small hall under 9 feet visually compresses the space. The fixture enters the occupant’s sightline. Replace with recessed downlights and move the decorative element to a wall sconce at 1,800mm height.
Warm color temperature exclusively: Specify 2,700K in small halls. This color temperature reads as intimate and generous simultaneously. Cool white at 5,000K makes small halls feel clinical and tight.
False Ceiling Design for Rectangular Hall — Working With Your Room’s Shape
Narrow Rectangular Halls — Designs That Add Visual Width
A rectangular hall where length significantly exceeds width needs ceiling design that emphasizes the transverse axis — the short dimension — to correct visual imbalance.
Strategies that work:
Perpendicular panel layout: False ceiling panels oriented with their long axis running across the room width, not its length. The eye follows the panel direction and reads the room as wider.
Transverse cove lighting: LED cove channels on the two long walls only — not the short walls. Light washing the long walls laterally reinforces the sense of width.
Single false beam at midpoint: A gypsum box beam (150mm deep × 100mm wide) running across the ceiling at the hall’s midpoint breaks the length visually without any structural requirement.
Central Feature Panels for Square-ish Rectangular Halls
A rectangular hall closer to square (14×18 feet, 15×20 feet) accommodates a central feature panel successfully.
Proportioning the central panel:
- Panel width: 60–70% of the room’s shorter dimension
- Panel length: 60–70% of the room’s longer dimension
- Step height from perimeter border: 150–200mm maximum for 10-foot ceilings
Chandelier placement: Center within the raised panel, not the room as a whole if furniture is offset. Bottom of chandelier clears 7 feet (2,100mm) above finished floor for standard halls. Over a dining table, clear 900mm (36 inches) above the table surface.
False Ceiling Lighting Design for Hall — The 2026 Planning Guide
Recessed Lights vs. Cove Lighting vs. Pendants — Choosing the Right System
| Lighting Type | Layer | Function | Ceiling Height |
| Recessed downlights | Primary | Task/general | Any height |
| Cove LED strip | Ambient | Mood/fill | 8.5 ft+ recommended |
| Pendant lights | Decorative | Focal/dining | 9.5 ft+ |
| Chandelier | Statement | Focal/ambient | 10 ft+ |
Recessed LED downlights:
- Aperture sizes: 75mm for accent positions, 100mm for standard residential, 150mm for broad wash
- Beam angle: 36–40° for general illumination, 15–24° for wall washing
- Specify minimum 90 lm/W for energy efficiency
Cove LED strip:
- Use 24V (not 12V) for any run exceeding 5 meters — voltage drop on 12V produces visible brightness variation
- Output: 900–1,200 lm/m for standard hall cove applications
- CRI 90+ minimum — lower CRI makes wall colors look inaccurate
- Color temperature: 2,700K–3,000K for living halls
Pendant lights:
- Single pendant diameter rule: 1/12 of room perimeter in feet (a 14×20 foot hall = 5.7-inch minimum — use 24–30 inches for correct visual scale)
- Hanging height: 7 feet above finished floor for general positions
How Many Lights Does Your Hall Actually Need — The Calculation
Stop guessing. Calculate:
Target illuminance by zone:
| Zone | Target |
| Living/relaxation | 150–200 lux |
| Dining area | 250–350 lux |
| Hall general | 200–250 lux |
Formula:
Total lumens = Target lux × Room area (m²) ÷ Coefficient of Utilization (CU)
CU for a hall with mid-tone walls and white ceiling: 0.55–0.65
Example: 25m² hall, 200 lux target, CU 0.6
Required = 200 × 25 ÷ 0.6 = 8,333 lumens
At 800 lm per fixture: 8,333 ÷ 800 = 10–11 recessed downlights
Add cove strip: 16m perimeter × 1,000 lm/m = 16,000 lm ambient supplement
Dimmer circuits — non-negotiable:
Minimum two independent dimmer circuits for any hall: one for recessed downlights, one for cove LEDs. Three circuits for halls with dining zones. This single decision provides more daily flexibility than any other lighting choice.
False Ceiling Design for Hall With Price Honest 2026 Cost Breakdown
What You Will Actually Pay — Material by Material
These figures cover contractor-installed pricing including materials, labor, basic electrical rough-in, and primer coat. They exclude LED fixtures, AC ductwork, and finish painting.
India — INR per square foot:
| Material | Simple | Medium | Premium |
| Gypsum board | ₹60–₹80 | ₹90–₹130 | ₹140–₹220 |
| POP | ₹50–₹70 | ₹80–₹115 | ₹120–₹180 |
| Gypsum + POP detail | ₹75–₹100 | ₹110–₹160 | ₹170–₹280 |
| Stretch ceiling | ₹100–₹150 | ₹160–₹240 | ₹250–₹420 |
Pakistan — PKR per square foot:
| Material | Simple | Medium | Premium |
| Gypsum board | PKR 160–220 | PKR 240–340 | PKR 360–580 |
| POP | PKR 130–190 | PKR 210–300 | PKR 320–500 |
USA — USD per square foot:
| Material | Simple | Medium | Premium |
| Gypsum board | $4–$7 | $8–$13 | $14–$22 |
| Stretch ceiling | $6–$10 | $11–$20 | $21–$38 |
Additional line items to budget separately:
- LED strip lights (installed): ₹180–₹400/m India | PKR 450–1,000/m Pakistan | $8–$20/m USA
- Recessed LED fixtures each (installed): ₹1,000–₹3,500 India | PKR 2,500–9,000 Pakistan
- AC cassette duct integration per unit: ₹18,000–₹45,000 India | PKR 50,000–120,000 Pakistan
H3: What Drives Costs Up — And How to Control Them
Five factors that increase cost significantly:
1. Multi-level design complexity: Each additional ceiling level adds framework, material, jointing, and painting time. A three-level ceiling costs 2.2–2.8× the per-square-foot rate of a single-level installation.
2. Curve work: Any curved element requires flexible gypsum (scored and wet-bent) or POP on a curved former. Both increase labor time by 40–80% over equivalent straight work.
3. AC duct integration: Budget this as a completely separate line item — it adds significant depth requirements and duct material costs.
4. Lighting quantity: A hall with 12 premium recessed fixtures at ₹3,000 each costs ₹36,000 in fixtures alone. Specify higher-output fixtures (800 lm instead of 600 lm) to reduce fixture count by 25–30% without compromising illuminance.
Five strategies to control costs without compromising design:
- Use gypsum board as the primary structure and POP only for the cornice profile — same visual impact, lower total cost
- Install LED cove channels now, add LED strips later — splits cost without affecting the final result
- Choose a border ceiling design — covers less area at the same quality level
- Request fully itemized quotes with separate line items — negotiate each item independently
- Separate fixture supply from installation — buying fixtures directly eliminates contractor markup
False Ceiling Installation — What Happens From Day One to Handover
Step-by-Step Installation From MS Channel Framework to Final Finish
Stage 1 — Survey and marking:
Laser level survey of the hall. Mark finished ceiling height on all walls. Identify all slab penetrations and structural elements. All MEP coordination happens here — not during installation.
Stage 2 — Perimeter angle track:
L-section MS angle (25×25×0.5mm) fixes to walls along the laser-marked line using concrete anchors at 400mm centers.
Stage 3 — Main runner suspension:
6mm threaded rods fix into the slab soffit at 1,200mm centers using RAW bolts or chemical anchors. Main runners (CD 60 profile, 0.6mm steel) hang from rods via hanger clips at the target height, checked against the laser level.
Stage 4 — Cross furring channels:
CD 60 cross channels interlock into main runners at 400mm centers, creating the grid that supports the gypsum boards.
Stage 5 — MEP rough-in:
All wiring routes through 20mm PVC conduits are secured to the MS framework. AC supply, return, and condensate drain route at this stage. The ceiling remains completely open — this is the only opportunity for MEP changes without demolition.
Stage 6 — Gypsum board fixing:
12.5mm boards fix to CD channels using 35mm drywall screws at 200mm centers along edges, 300mm centers in the field. Screws countersink 0.5–1mm below the surface.
Stage 7 — Jointing and finishing:
Paper tape is embedded in the first coat of joint compound at all edges. Two additional thin coats follow (24 hours drying between coats), each feathered 50–75mm wider than the previous. Final sanding with 120-grit produces a seamless surface.
Stage 8 — Primer and paint:
Water-based PVA primer seals the surface. Two finish coats of flat emulsion, cross-rolled for even coverage.
Stage 9 — Fixture installation:
Electrician installs and connects recessed fixtures, LED strips, and drivers. All circuits test for correct function and dimmer compatibility before sign-off.
Realistic Installation Timelines
| Hall Size | Design Type | Duration |
| Under 150 sq ft | Border ceiling, gypsum | 3–5 days |
| 150–250 sq ft | Single-level gypsum + cove | 5–8 days |
| 250–400 sq ft | Two-level tray ceiling | 8–13 days |
| Any size with heavy POP | Add curing time | +5–7 days |
Key on-site rules:
Remove all furniture before Day 1 — not “move it to one side.” Gypsum dust penetrates fabric and damages every surface within 10 meters. Cover all doorways with 200-micron polythene sheeting. Inspect the MS channel grid before gypsum board goes up — the only opportunity to verify correct layout without breaking anything.
False Ceiling Questions Answered Directly
Which false ceiling design is best for a hall?
For halls above 10 feet: a tray ceiling with LED cove strip in the perimeter step delivers the strongest architectural result. For halls at 9–10 feet: a single-level gypsum ceiling with perimeter cove lighting is the professional standard. For halls below 9 feet: a border-only ceiling or stretch ceiling at 40mm depth is the correct technical solution. Gypsum board in moisture-resistant grade suits the majority of residential halls globally.
What is the minimum height required for a false ceiling?
The minimum recommended original ceiling height is 2,750mm (9 feet). A standard gypsum ceiling with wiring only reduces this to approximately 2,600mm (8.5 feet) — comfortable for residential use. For original ceiling heights at 2,600mm (8.5 feet), use border-only design or stretch ceiling. Below 2,600mm, full-coverage false ceilings are inadvisable.
Is gypsum or POP better for hall false ceilings?
Gypsum board outperforms POP on installation speed, moisture resistance, and long-term crack resistance. POP outperforms gypsum on decorative complexity. For contemporary and minimalist halls, specify gypsum board. For traditional or ornate halls, use gypsum as the primary ceiling with POP applied for cornice and medallion detailing.
How long does a false ceiling last?
A correctly installed gypsum false ceiling with moisture-resistant specification lasts 20–30 years. POP ceilings last 15–20 years with periodic maintenance. Stretch ceilings perform for 20–25 years in residential conditions. The primary risk factor for all types is water ingress from above — a single plumbing leak significantly shortens service life regardless of material quality.
FAQ — False Ceiling Designs for Hall
Does a false ceiling reduce room height significantly?
A false ceiling reduces height by 125–175mm for standard wiring-only installations, and 250–400mm when AC ducts route through the cavity. A border-only design drops the perimeter by 75–100mm while leaving the room center at original height. Good indirect cove lighting from the perimeter creates a visual impression of greater height that partially offsets any measured reduction.
Can I add AC ducts and wiring inside a hall false ceiling?
The ceiling cavity accommodates all building services: 20mm PVC electrical conduits, 150–250mm insulated flexible AC duct, 25mm PVC condensate drain pipe, and data cabling. Every service point above the ceiling requires a corresponding access panel in the gypsum surface — specify these at design stage, minimum 300mm × 300mm for hand access.
What is the difference between a coffered ceiling and a tray ceiling?
A tray ceiling has one recessed panel — the ceiling steps from a raised center to a lower perimeter border. Clean, singular, contemporary. A coffered ceiling divides the entire surface into a repeating grid of recessed panels separated by intersecting beams. Coffered ceilings require minimum 10-foot ceiling height to avoid compression. Tray ceilings work from 9.5 feet upward across all design styles.
Can false ceilings be installed in rented apartment halls?
Three options suit rental apartments: a modular grid ceiling system (suspended metal grid with removable tiles) leaves only small slab anchor points on removal; a stretch ceiling (aluminum track fixed to walls, not slab) removes cleanly with minor wall patching; clip-in or magnetic ceiling panels on an existing grid are fully reversible. All three require written landlord permission before installation.
What paint colors work best for false ceilings?
Flat/matte white (LRV 90+) delivers the highest performance — reflects cove LED light efficiently, conceals imperfections, works with any palette below. For deliberate drama, specify the ceiling 3–4 LRV points darker than the walls — it recedes visually and the room reads taller. Always paint the cove channel interior in white or off-white — painting it dark reduces LED bounce efficiency by 40–60%.
How do I maintain a gypsum false ceiling?
Dust every 8–12 weeks with a microfiber duster or soft vacuum brush attachment. Never apply wet cloths directly to gypsum — moisture softens the paper face. For stains, use a barely damp cloth with minimal pressure. Repaint with flat emulsion every 6–8 years. Fill hairline settlement cracks at joints with flexible acrylic filler, sand flush, spot-prime, and repaint. Brown water stains indicate moisture ingress — eliminate the source completely before any cosmetic repair.